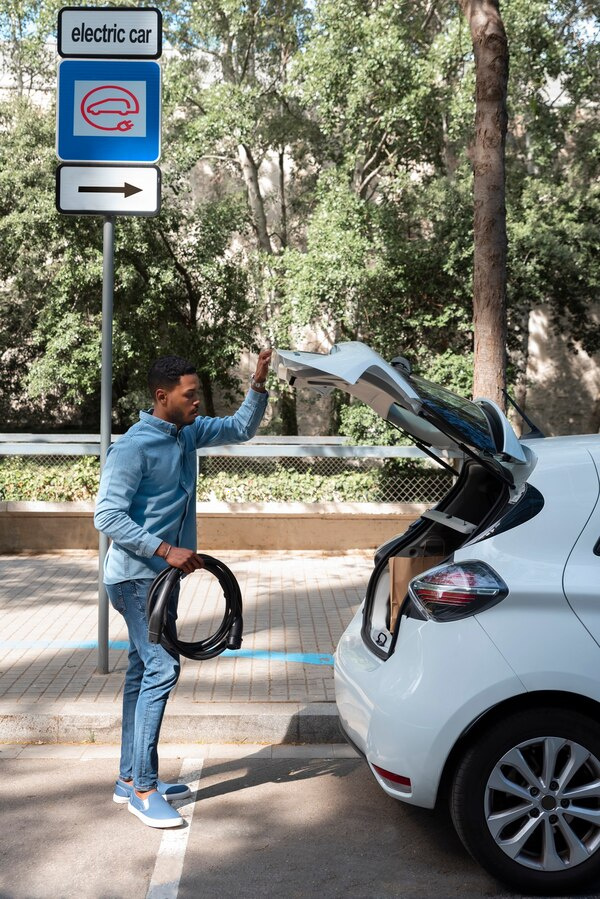
How to Recharge Your Vehicle Online
In today's fast-paced world, convenience is key. The rise of electric vehicles (EVs) has led to an increased demand for easy and efficient ways to recharge them. Gone are the days when you had to plan your trips around charging stations manually. Now, you can recharge your vehicle online, ensuring a seamless and hassle-free experience. This guide will walk you through the process of how to recharge your vehicle using online resources.
1. Choose the Right Charging Network

The first step in recharging your vehicle online is to select a reliable charging network. Various networks provide different benefits, so it’s essential to choose one that fits your needs. Some popular networks include:
- Tesla Supercharger Network
- ChargePoint
- EVgo
- Electrify America
Each network has its app and website where you can find charging stations, check availability, and even see the cost of charging in real-time.
2. Download the App
Most charging networks have dedicated mobile apps that make it easy to locate and use charging stations. Download the app of the network you've chosen from the App Store or Google Play. Once installed, create an account and set up your payment information. Some apps offer added features like route planning, which can help you find charging stations along your journey.
3. Locate a Charging Station
Using the app, locate a charging station near you or along your planned route. The app will provide details such as the type of chargers available (e.g., Level 2, DC Fast Charging), the number of available charging ports, and the estimated time required to charge your vehicle. This information helps you to choose the most convenient and efficient option.
4. Reserve Your Spot
Some charging networks allow you to reserve a charging spot in advance. This feature is particularly useful during peak hours or in busy locations. By reserving your spot online, you can avoid waiting in line and ensure that a charger will be available when you arrive.
5. Start Charging
Once you arrive at the charging station, open the app and follow the instructions to start charging. This usually involves scanning a QR code on the charger or entering a unique code provided by the app. The app will then authenticate your session and begin charging your vehicle.
6. Monitor Progress
While your vehicle is charging, you can use the app to monitor its progress. The app will display real-time information such as the amount of charge added, the time remaining, and the cost incurred. This allows you to keep track of your charging session without needing to stay by your vehicle.
7. Complete the Session
Once your vehicle is fully charged or you’ve reached the desired level of charge, you can end the session through the app. Some networks automatically stop the charging process when your battery is full, but it’s always good to double-check. After ending the session, you’ll receive a summary of the charging details and the cost.
8. Payment and Billing
The payment for your charging session is processed automatically through the app using the payment method you set up earlier. You’ll receive a receipt via email or directly within the app. Some networks also offer monthly subscription plans, which could be more economical if you frequently recharge your vehicle.
Conclusion
Recharging your vehicle online has never been easier. By choosing the right charging network, using dedicated apps, and taking advantage of features like reservation and real-time monitoring, you can ensure a smooth and efficient charging experience. Embrace the convenience of online recharging and enjoy the journey with your electric vehicle.